

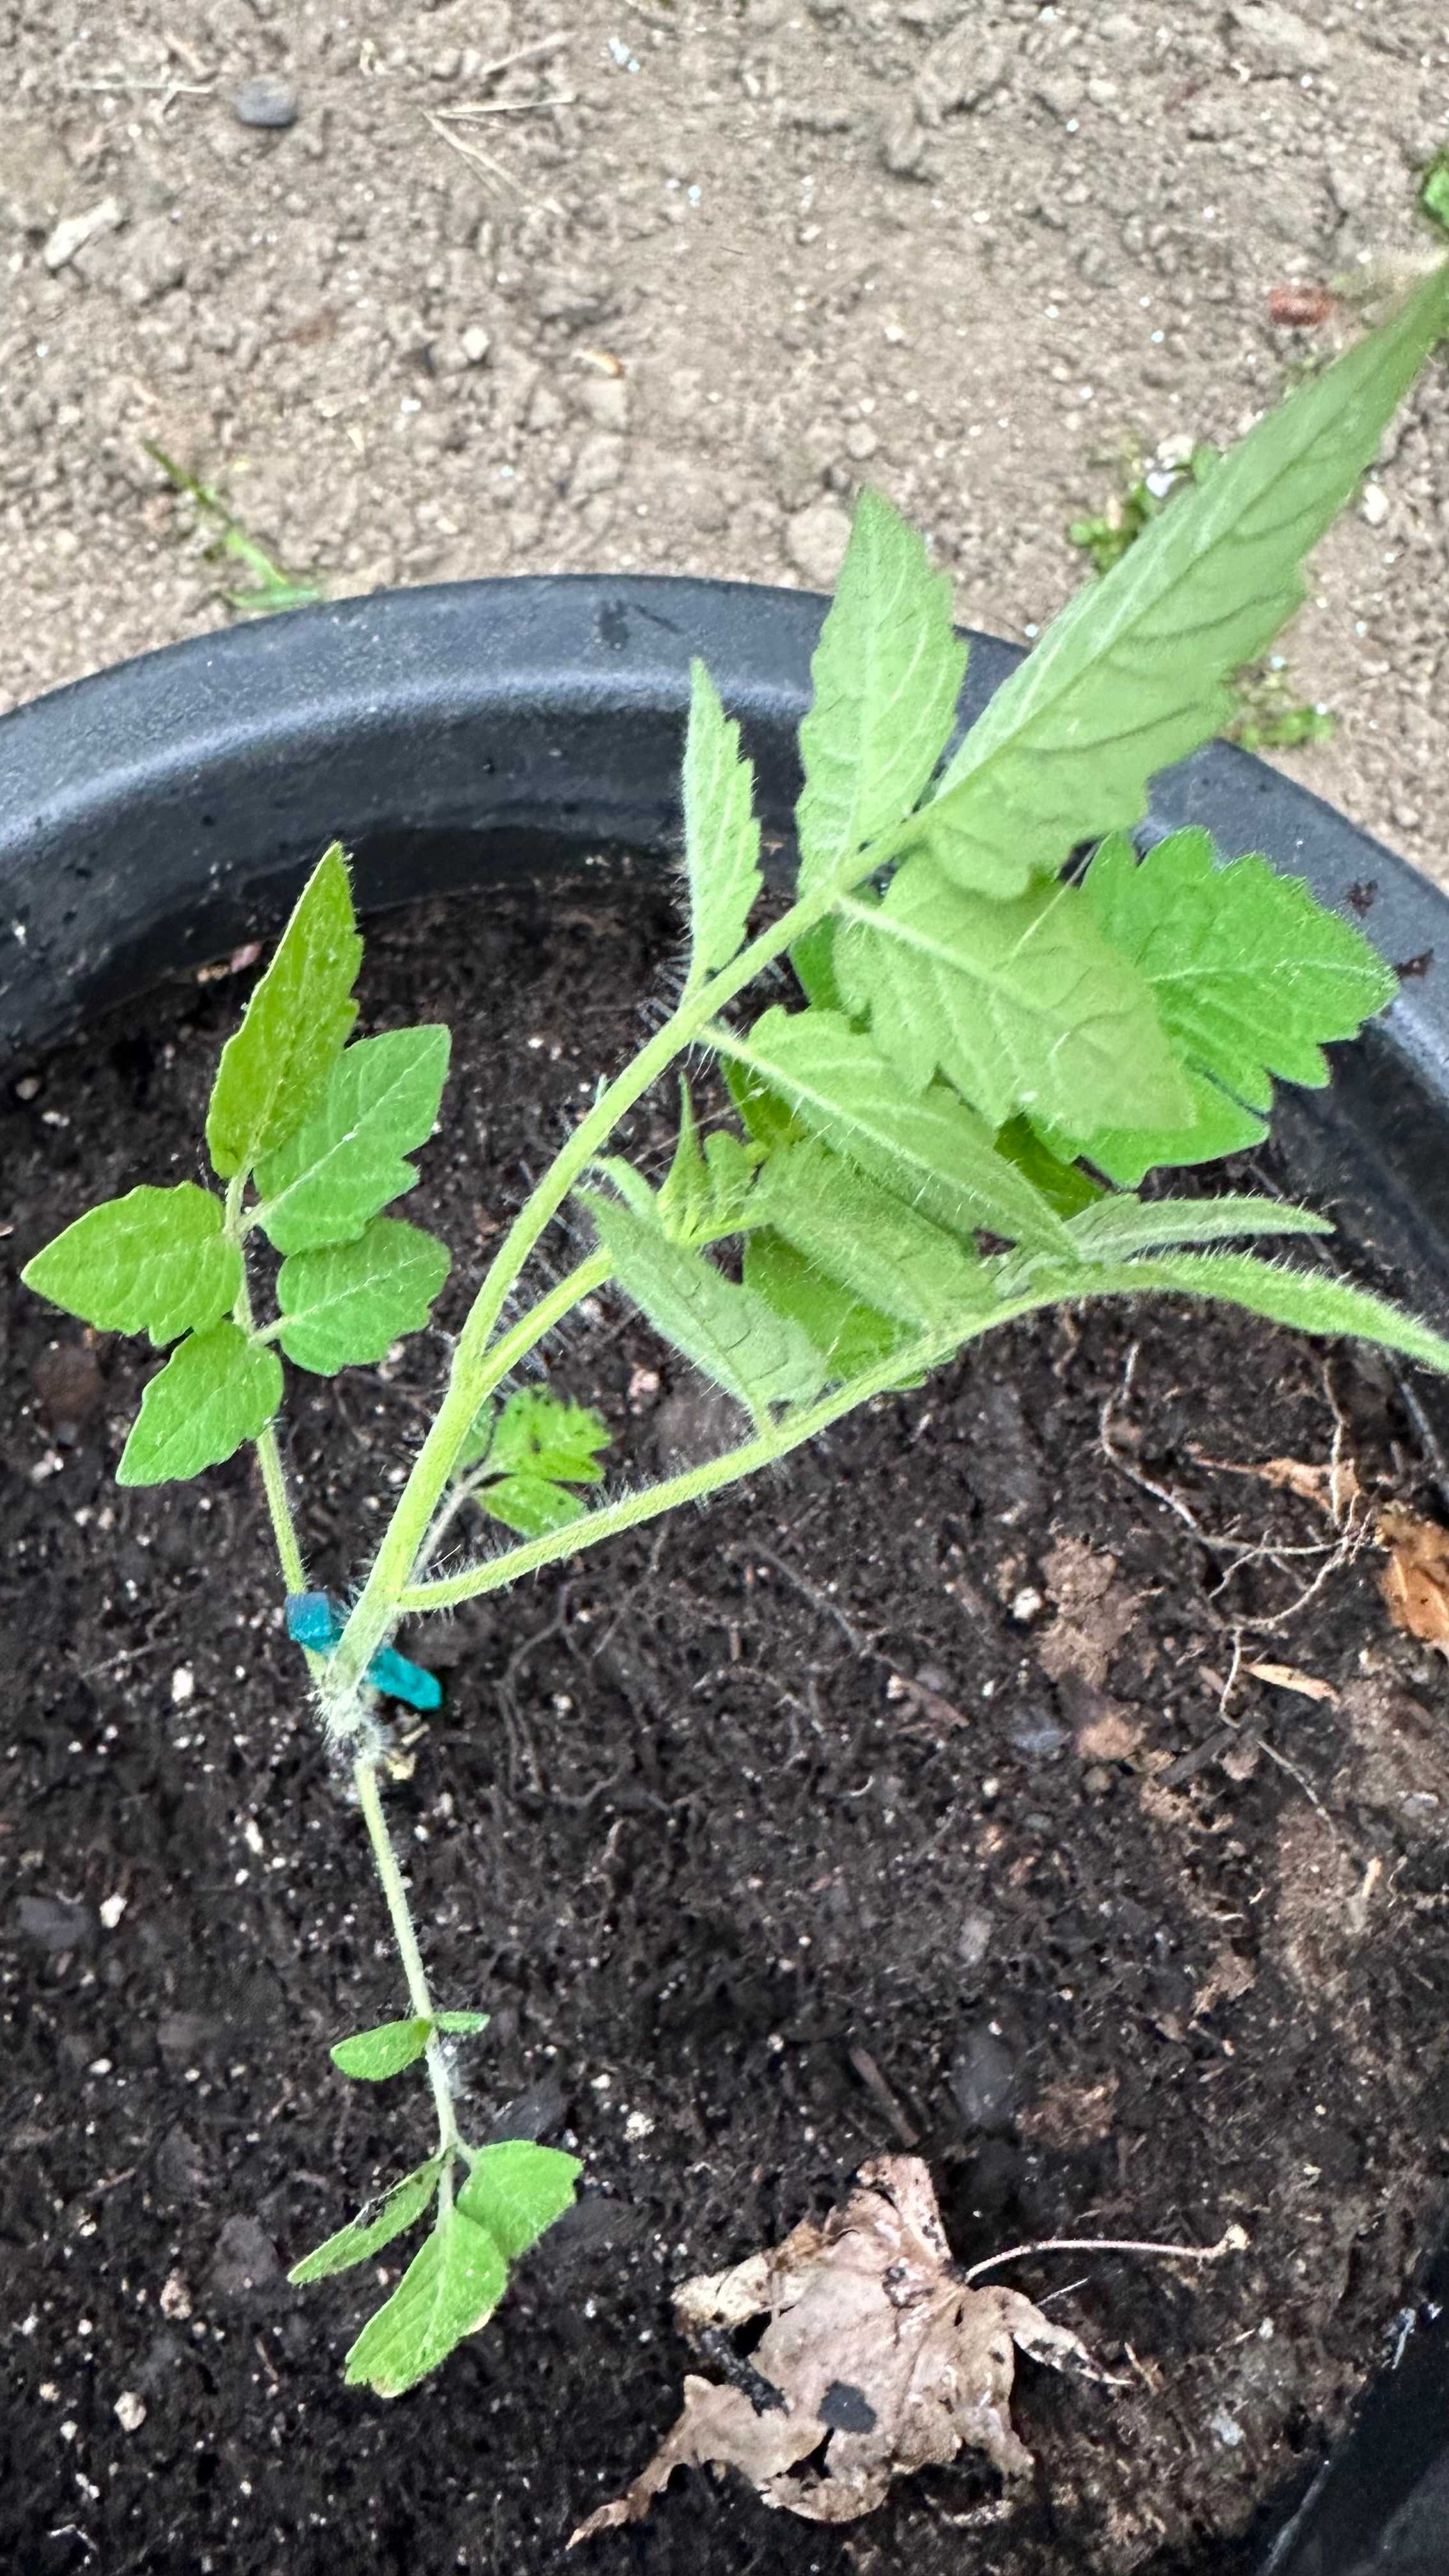
When I decided to start growing some veggies in my backyard, I didn't even know what a tomato plant looked like. If one was growing out of a pot in front of my face, I couldn't tell the difference between a tomato plant or a weed.
 The point is, I didn't know what I didn't know. Fortunately, we have access to a lot of books, blogs, YouTube channels and magazines (digital or print) to start the education process.
Step 1
My first step was to go to the closes big box home center. There used to be quite a few nurseries nearby but most of them had shut down over the years so I took a 10 minute drive to the big box guys. They have a pretty extensive nursery so I spent a few hours walking around, examining the different types of herbs, tomatoes and peppers. I finally knew what a tomato plant looked like :-)
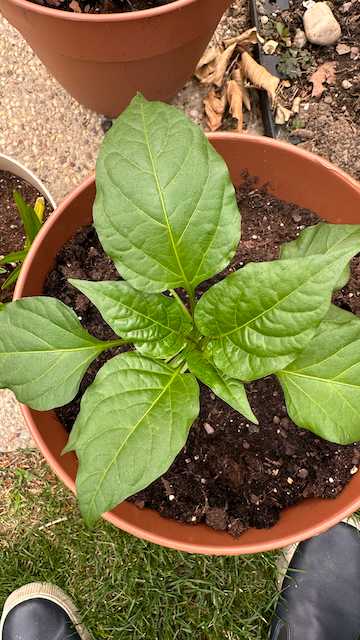
I bought 2 organic red bell pepper plants, a cayenne pepper plant and 2 jalapeno plant (yes, we use a lot of peppers in my home). I didn't buy any tomato plants since a couple of the cherry tomato plants sprouted up and seemed to be doing ok. I eventuially bought a determinate tomato plant called a "Siam Tomato" - it turned out to be not too different from the cherry and grape tomato plants, just a lot more manageable and not as bountiful of a harvest.
Step 2
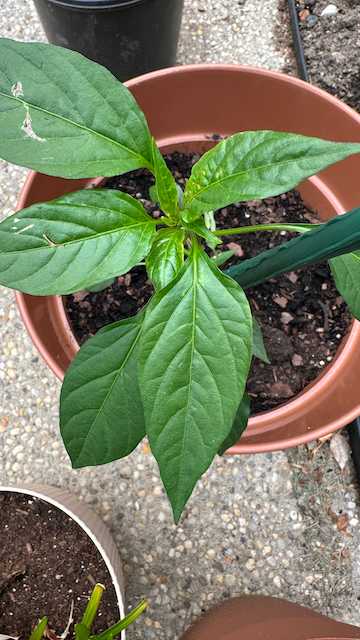
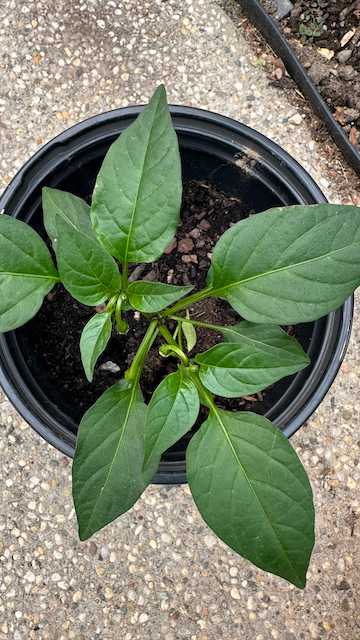
Now that I got these pepper plants, I had to put them in some soil and pots. I got some of the old pots that I had sitting around and put my hands into the soil, digging it up and loosening it with my hands. Once it was fluffy and not clumped togehter, I took the pepper plants, one by one, turned them upside down, squeezed the plastic cell gently until the pepper plants came out. Most of them came out with the soil intact around the roots. I held the plant in my left hand, made a hole large enough to take the "transplant" and tried to put the plant in without disrupting the soil. It didn't always work as intended but I transplanted each of the plants into their new homes.
Step 3
Watering all 5 of the pepper plants thoroughly but not drenching them. With the first one, I used a 2 gallon watering can to pour half of it into the 3 gallon pot. Some of the water drained out of the bottom of the pot at which point, I knew the plant had enough water for a few days. I repeated the process on the other 4 pepper plants.
Lessons Learned
I now had pepper and tomato plants ready to go. A week or two went by and though the plants were growing but very slowly. I started researching and found that many plants don't like to have their roots disturbed. When they are repotted, they sometimes go into shock. In hindsight, this made sense since, in nature, plants don't move from one place to another without some outside force moving them. A few things I learned about transplanting:
- One thing to help with potential transplant shock is to water the plant thoroughly the day before the transplant.
- Another is to have a good fertilizer, high in nitrogen, available to the roots. I found that many people would put a handful of fertilizer into the transplant hole or use a liquid fertilizer. I didn't do this.
- Always transplant on a day that's a bit overcast and not too windy. If you can't wait for an overcast day, do the transplanting in a shaded area and keep the transplated plant in a shaded area with nice blue skies overhead but no direct sunglight.
- Use a good liquid fertilizer high in nitrogen to feed the roots of the new transplant. To avoid burning the plant, I now use a liquid organic fertilizer diluted to 25-50% of the recommended strength.
Keep growing and feel free to HMU on X (FKA Twitter), Instagram or wherever your online wanderings take you.